
Go to Examination > Exam Group
1. Add Exam Group
To Add Exam Group then enter Name, select the Exam Type and Description and then click on Save button.
You can view/edit/delete this added record in the Exam Group List on the right side of the page.
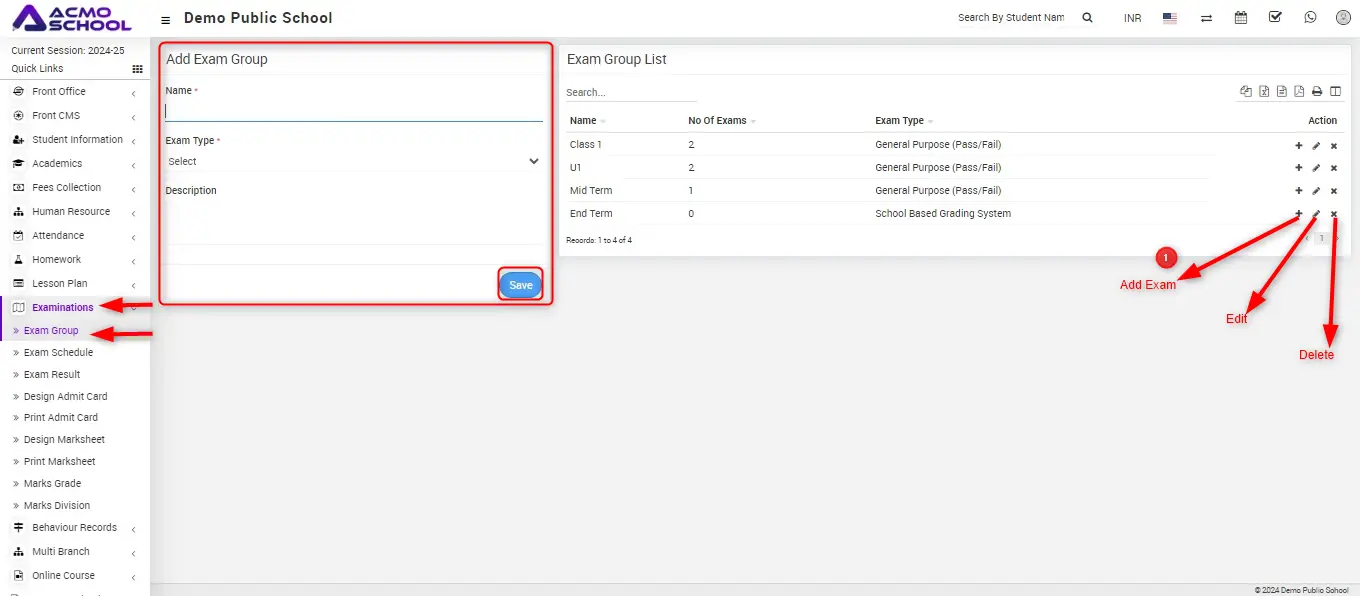
2. Add Exam
To add exam click on Add (+) icon present at Action column in the exam group list, at click of this icon Exam list page will be open.
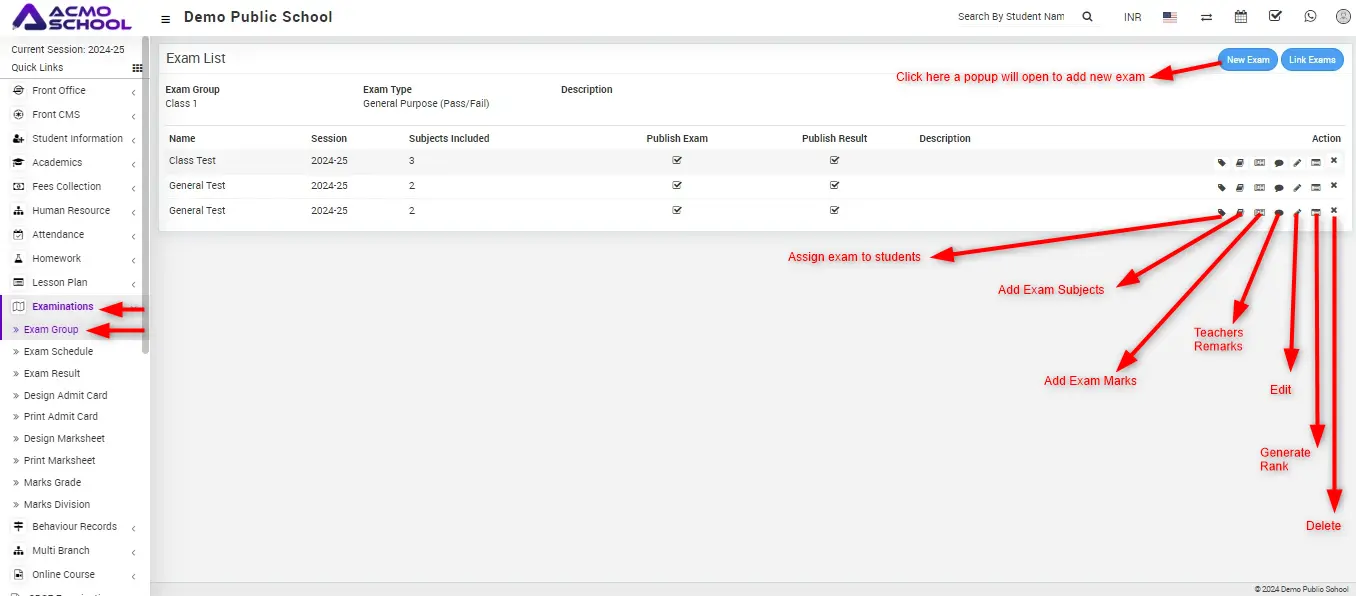
3. Assign Exam to Students
Click on Assign/View student icon present at Action column in the exam list page, at click of this icon Exam Student modal will be open.
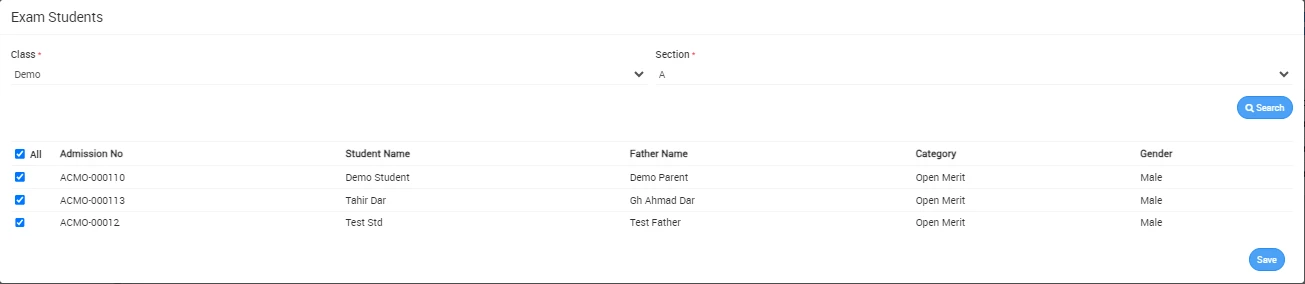
Here select the Class and Section and then click on the Search button.
Now select student you want to Assign and Unassign for exam and then click on the Save button.
4. Manage Exam Subjects
Click on the Exam Subject icon present at Action column in the exam list page, at click of this icon Add Subjects modal will be open.
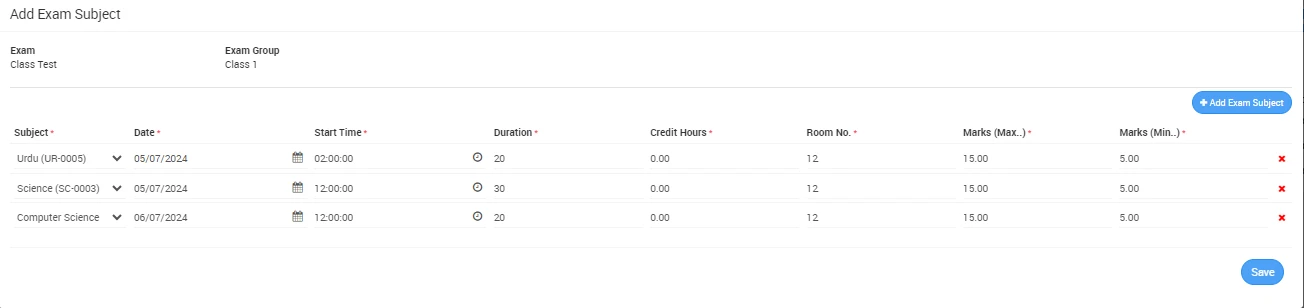
Here click on the Add Exam Subject button present in the right side of the add subject page, at click of this button new column box will be added then fill the details and then click on Save button.
If you want delete any subject then click on Remove icon.
5. Add Marks
Click on Exam Marks icon present at Action column in the exam list page, at click of this Exam Subject modal will be open.

Here click on the Exam Marks icon present at Enter Marks column in the exam subjects, at click of this icon subject modal will be open.

Here select the Class, Section and Session and then click on Search button.
You can also download the import file from right side clicking on Download Import File button.