
Admin Panel :- Login to Admin Panel through URL – https://app.acmoschool.com/gauthenticate/login
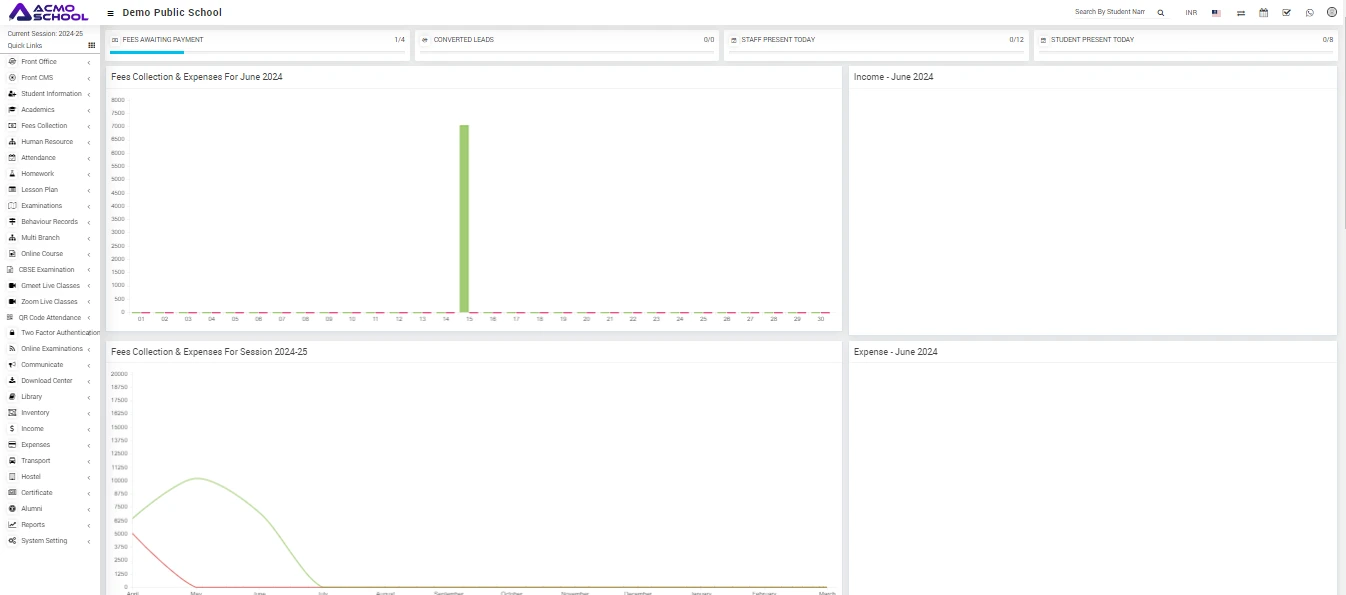
After successful login you will reach the Admin Dashboard. Below you can find navigational overview of the user screen.
Steps to setup your school –
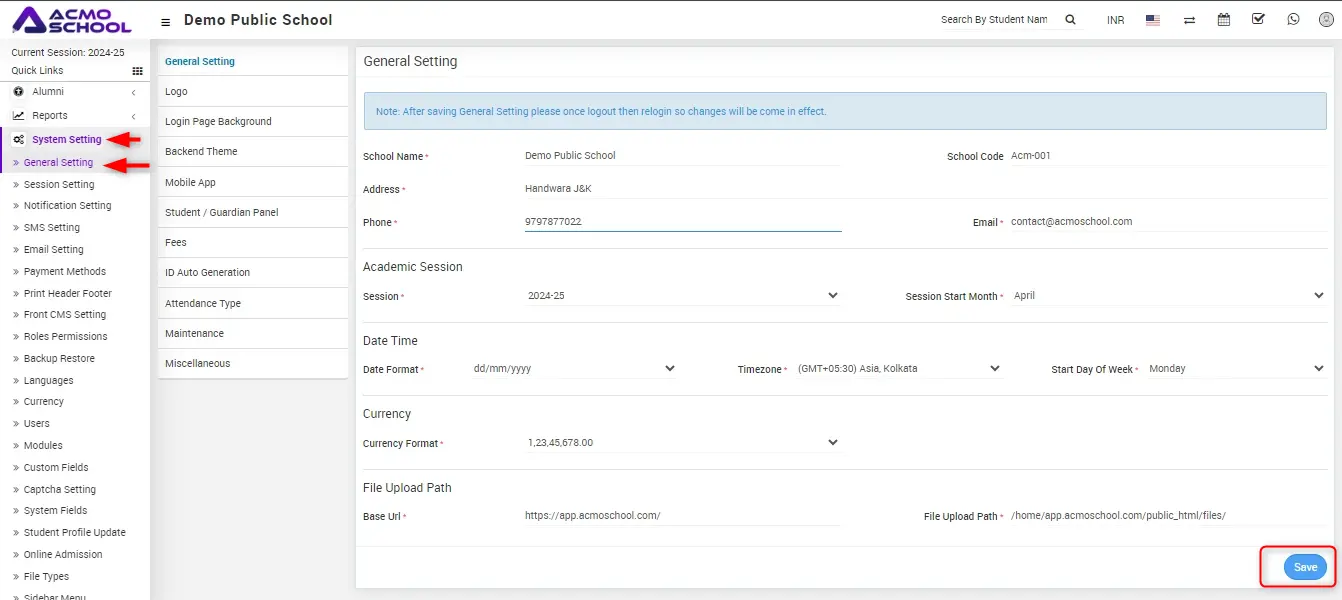
1. Update school Name and other details
Go to System Setting > General Setting.
Enter School Name, School Code and other details then click on Save button to update record.
2. Update Logos
Go to General Setting, in the lower left side click on Logo.
To Edit Print Logo, Admin Logo, Admin Small Logo, App Logo click on update then select your logo file.
![]()
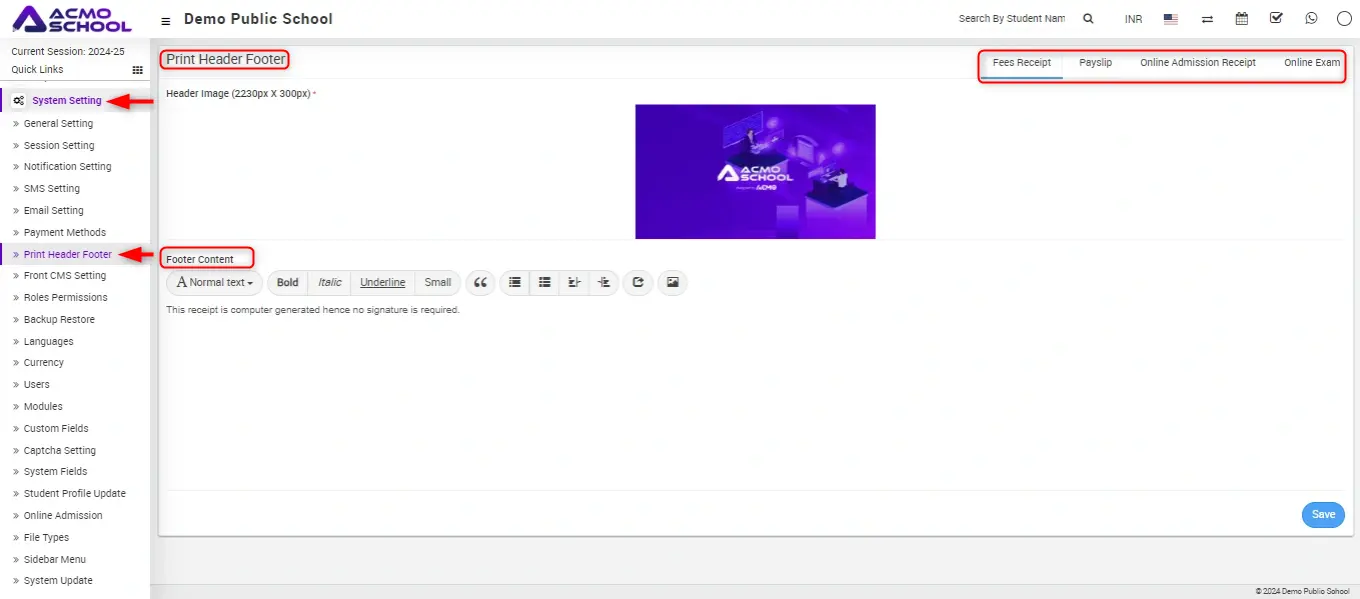
3. Update Header image and Footer content of Fees Receipt and Payslip
Go to System Setting > Print Header Footer,
Then drag and drop or select your Header Image and enter Footer Content and then click save it.
You can update Header image and Footer content for Fees Receipt, Payslip, and Online Admission Receipt and Online Exam by switching tab from top right corner of the page
Now we have completed basic setup of our school.
Now we will add our academics in School like Classes, Sections, Subjects, Teachers.
4. Add sections
Go to Academics > Sections.
Here you can add/edit/delete Sections
Sections can be added from the left side Add Section form, and the added Sections can be seen on the right side in the Section List.
To view the description, please click on the following link https://help.acmoschool.com/doc/how-to-manage-sections/
5. Add Classes
Go to Academics > Classes,
Here you can add/edit/delete Classes
Classes can be added from the left side Add Class form, and the added classes can be seen on the right side in the Class List.
To view the description, please click on the following link https://help.acmoschool.com/doc/how-to-manage-class/
6. Add Subjects
Go to Academics > Subjects
Here you can add/edit/delete Subjects
Subjects can be added from left side Add Subject form, and added subjects can be seen on right side Subject List.
Add all subjects including theory and practical in your school here. To view the description, please click on the following link https://help.acmoschool.com/doc/how-to-manage-subjects/
7. Assign Subjects to their Classes
Go to Academics > Subject Group
Here you can add/edit/delete subject groups
To Add Subject Group enter Name, Select class, section and subjects then click on save.
Added subject Groups can be seen on the right side in the Subject Group List.
To view the description, please click on the following link https://help.acmoschool.com/doc/how-to-manage-subject-group/
8. Add Teachers
Go to Human Resource > Staff Directory,
Here you can add/edit/delete Teachers
To add Teachers click on Add Staff button from top right corner.
The page will open on that page you can add any staff by selecting its role, designation and other basic information.
To view the description, please click on the following link https://help.acmoschool.com/doc/how-to-add-staff-directory/
9. Assign Class Teachers
Go to Academics > Assign Class Teacher
Here you can assign/edit/delete Assigned class teachers
To Assign Class Teacher Select class, section and class teacher then click on save.
Added data can be seen on the right side in the Class Teacher List.
To view the description, please click on the following link https://help.acmoschool.com/doc/how-to-assign-class-teacher/
10. Add a Student
Go to Student Information > Student Admission
A form will open then select class, section and other details then fill-out all information and click on save and you can view this added data in Student Information > Student details.
To Import Students in bulk then click on Import Students from the top right corner Student Admission and then select Class , Section and add File.